Different Cross-Stitch Techniques and Types
Different Cross-Stitch Techniques and Types
Learn various types of cross stitch this beautiful hobby has, as well as how to choose the best fabric for your project and the best free online pattern generator on the internet
Cross-stitching is a great pastime to learn, and it has so many types of cross-stitch variations and forms that you’d think it is an endless-learning hobby.
Because we love cross-stitching dearly and want to spread the word about it as much as possible, we decided to create this insightful article about cross-stitch techniques and types and include more information about fabrics and general considerations when starting a new design.
Difference Between English Cross-Stitching Method and Danish
There are many types of cross stitch, and above that, there are two distinguished methods for cross-stitching that determine how you’re going to make those stitches.
No method is better than the other, and you can use whatever you want in your design and alternate between them as many times as you desire. One technique might seem easier for you than the other, which is why spending time practicing and experimenting is part of the cross-stitching journey.
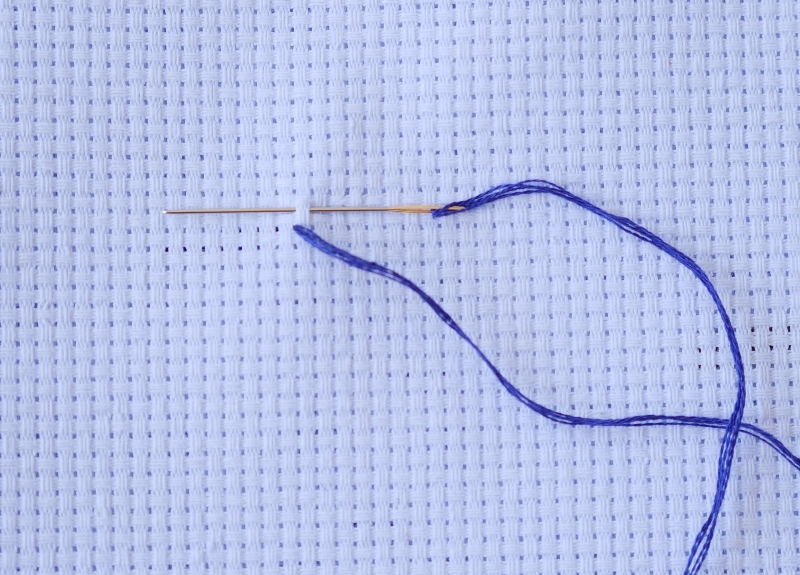
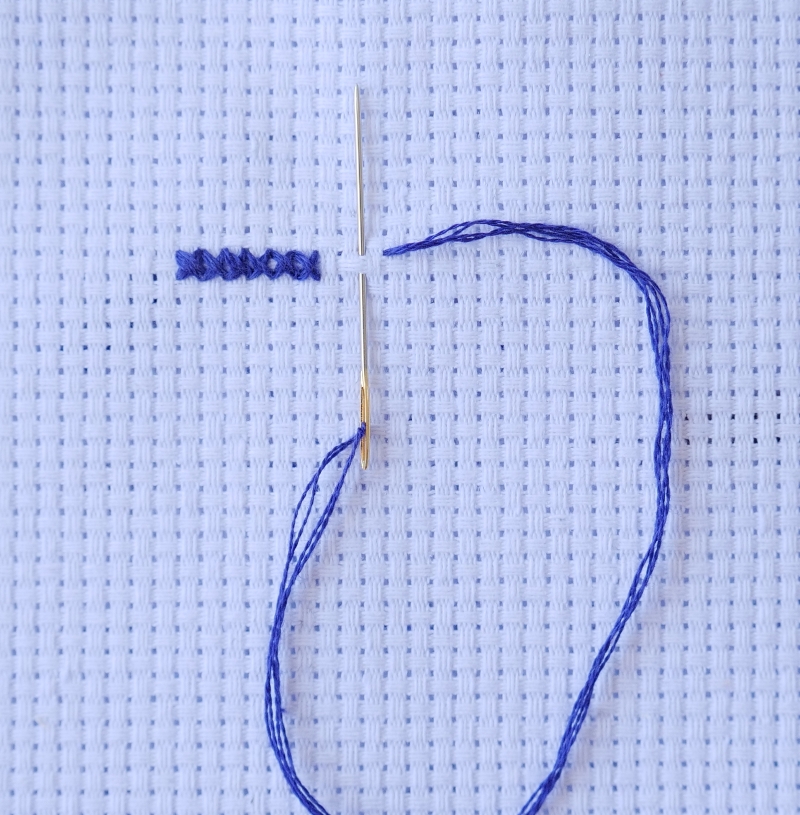
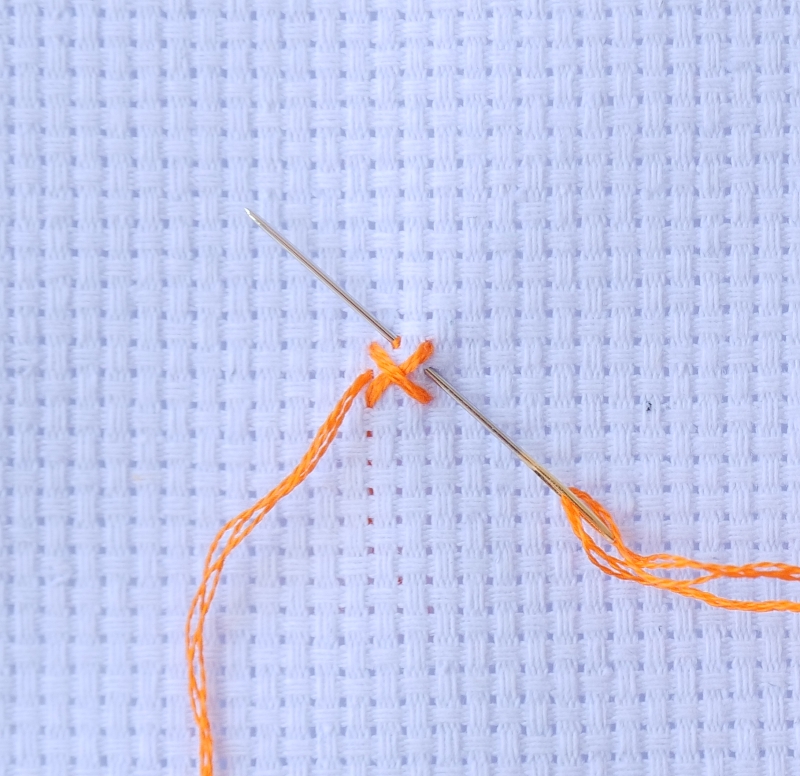
The English method is all about completing each individual cross first before moving on to the next one. This technique is perfect if you need to make small scattered stitches across your pattern, typically with one color.
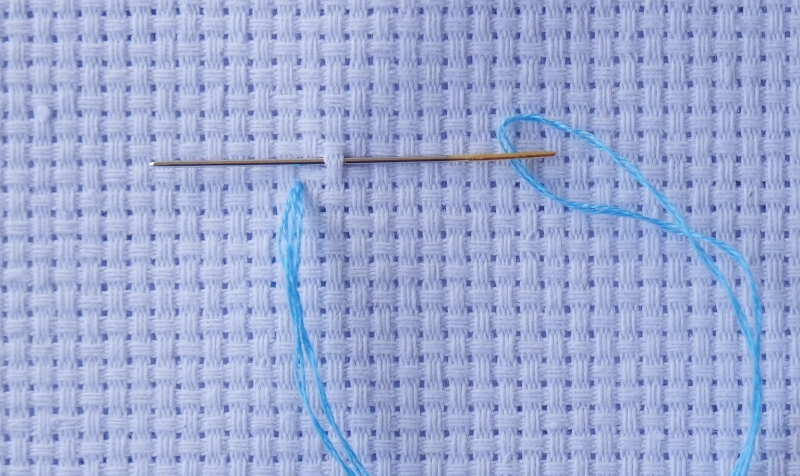
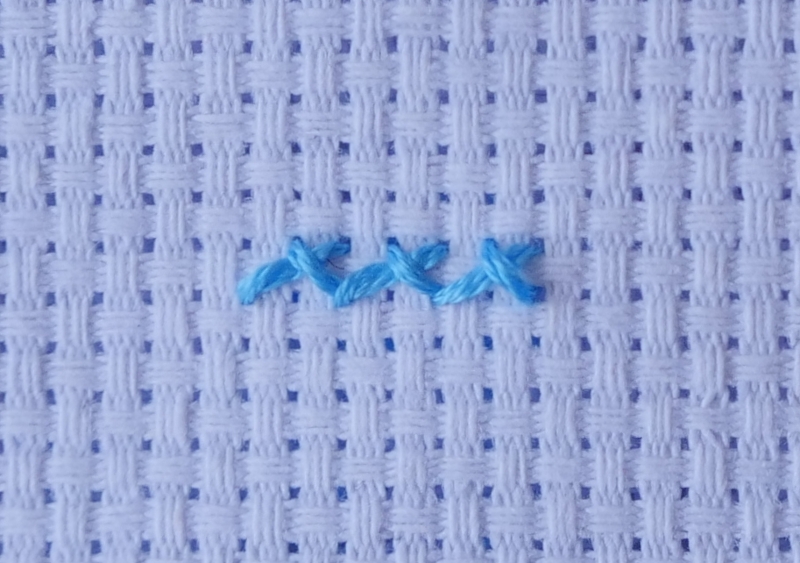
The Danish technique, on the other hand, involves going in one direction to do one half of the stitch and then coming back to finish the remaining part of it. It is great for stitching big areas and if you don’t like using an embroidery hoop. You only need to pay attention to your top stitch going in the same direction.
Types Of Cross Stitch
There are many, many types of cross stitch, and in this part, we want to mention the most common ones and what they’re great for.
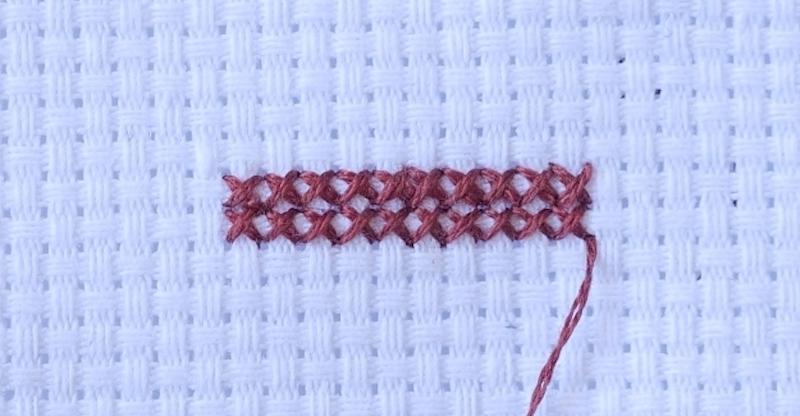
Oblique cross stitch
Used in Arraiolos tapestry, this is a diagonal stitch that runs down two horizontal threads. This gives it a slightly elongated look.

To make this stitch, simply make a diagonal stitch that starts at the bottom right corner and ends at the top left corner, going through two vertical threads and crossing one horizontal line. Once this part is done, bring the needle down through one horizontal line. Then pull the stitch to the top edge one vertical thread to the right of the end of the first stitch.
Rinse and repeat!
If you want to learn how to make your own Arraiolos rug pattern, check out this article we made.
Spaced cross stitch

As the name gives away, this will result in spaced cross stitches that will not touch each other. They are very easy to do and you only need to start your stitches as you normally would (whether you choose the English or Danish method) and leave a space between each stitch.
It is used for making scattered stitches like confetti or background decor.
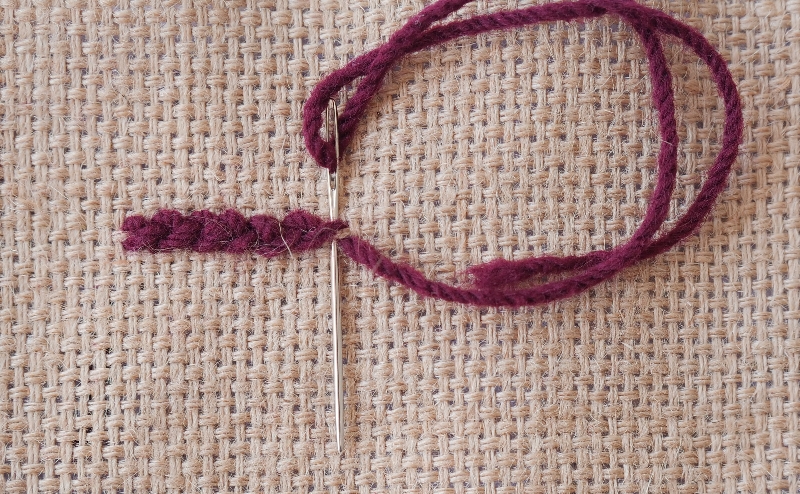
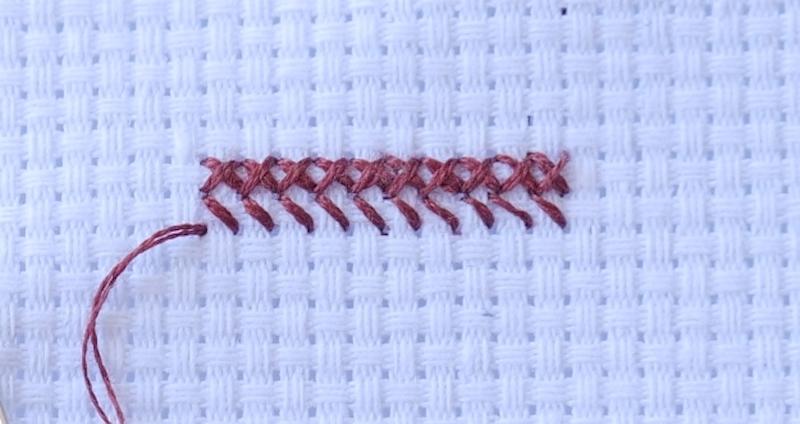
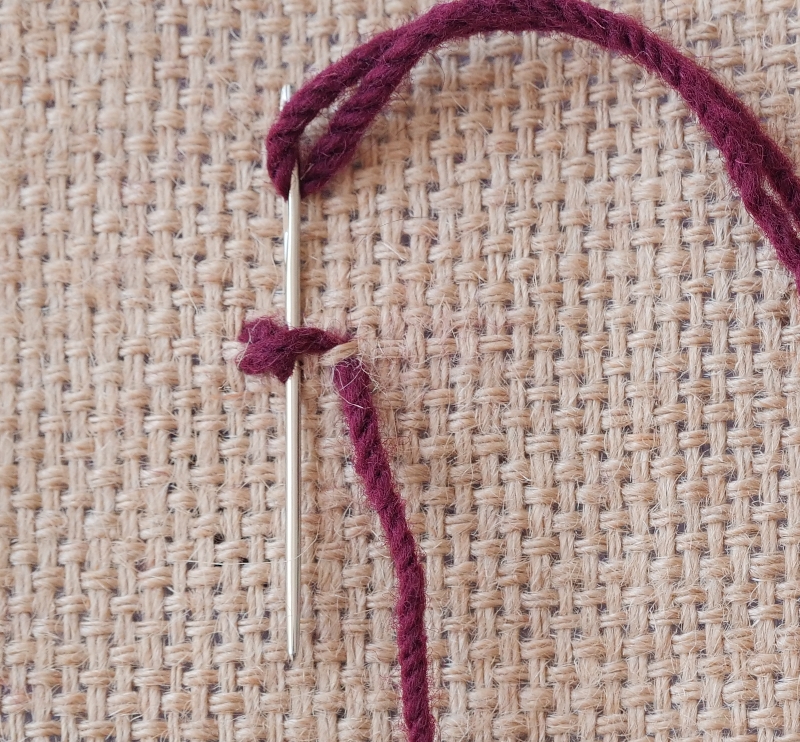
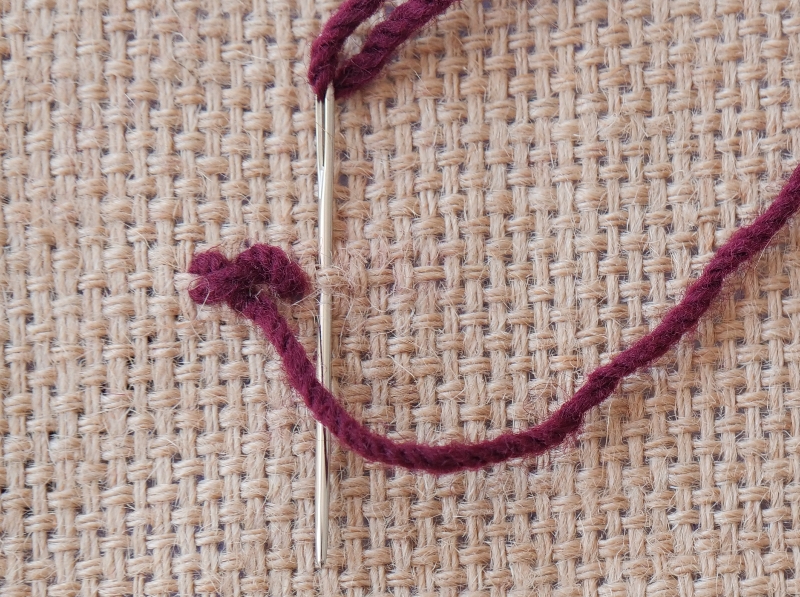
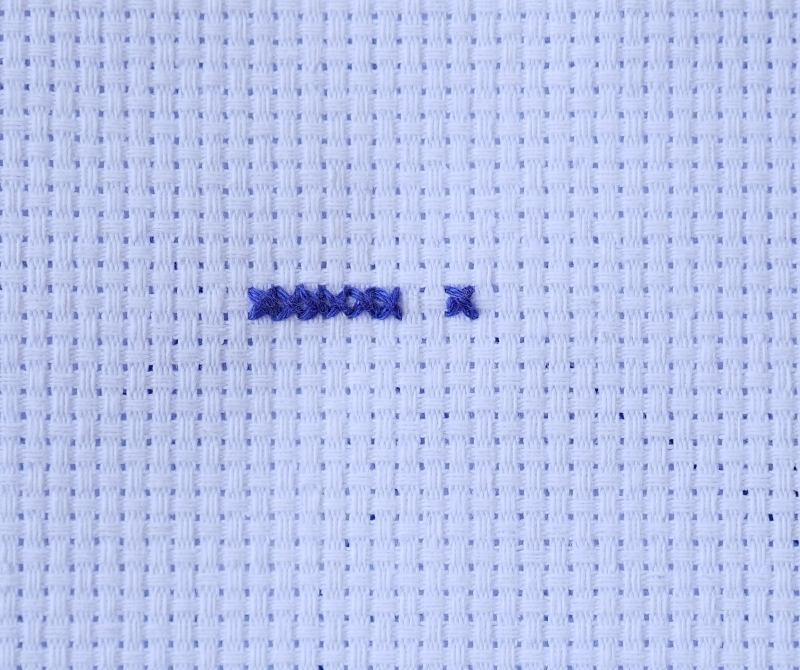
long stitch
The bottom stitch must be made one vertical longer than the top. From the lower left edge, drag the diagonal up through two vertical lines and one horizontal. Next, return the thread to one vertical, make a top stitch in the normal mode, one cell. And we continue as in the photo.
Double cross stitch
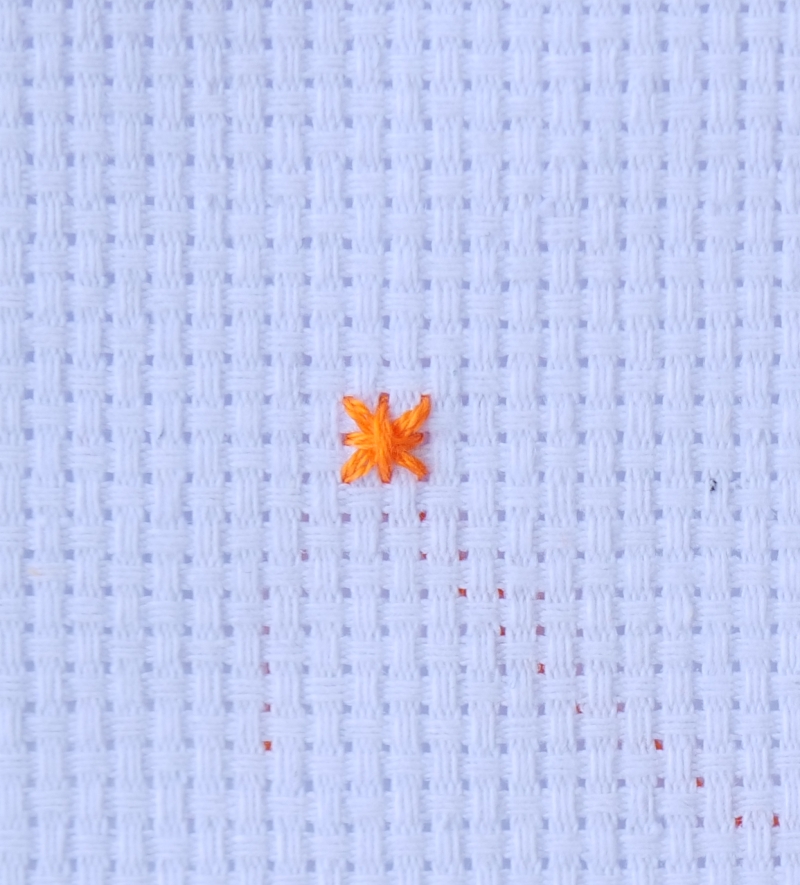
The double cross stitch is typically used as a filler and involves making two cross stitches in the same place altering their position. This means that you’ll have one cross stitch “vertically” and the other one in the same spot but “horizontally”, think about its shape like an asterisk (sort of).
Hungarian cross stitch
This type of cross stitch is recommended for decorations in medium to big spaces since you’ll need room to make them.
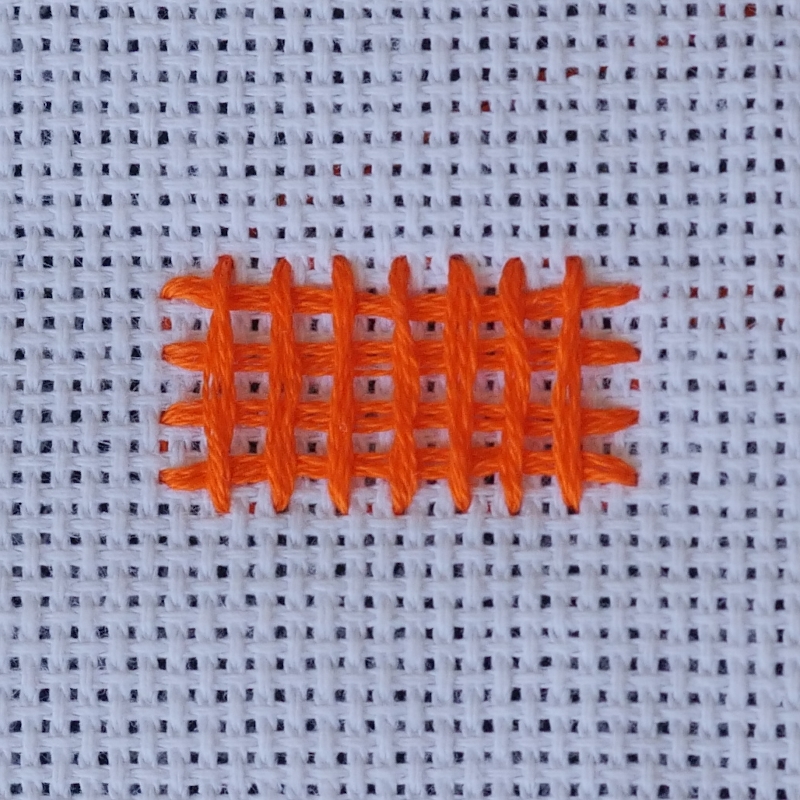

To make this stitch, first, you’d want to have a grid-like design stitched, and the Hungarian cross stitches will need to go in between each grid square. Similar to tic-tac-toe, you place your stitches in the middle of the grid.
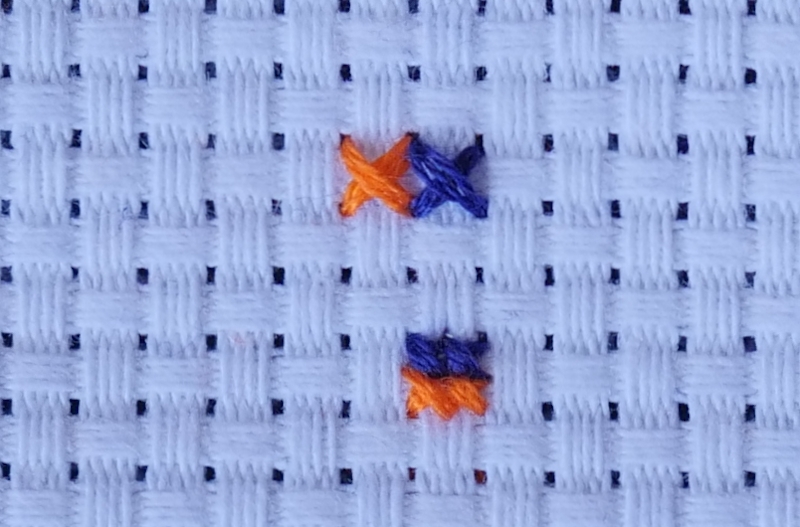
Fractional crosses
For adding more details while keeping your small, you can use fractional crosses, for example 1 full cross might consist of 1/4 cross of one color and 3/4 cross of another color, or two parts of 2/4 cross having different colors.

Petite stitch
Among the many types of cross stitches, allowing having more crisp result, a very popular one is called a petite stitch. This is a tiny cross stitch that is completed on a quarter of a square, as opposed to a cross-stitch. You will now have four little cross stitches as opposed to one giant cross stitch. Because cross-stitch patterns are often made using the quarter stitch, petite stitches can be used for more complicated patterns.
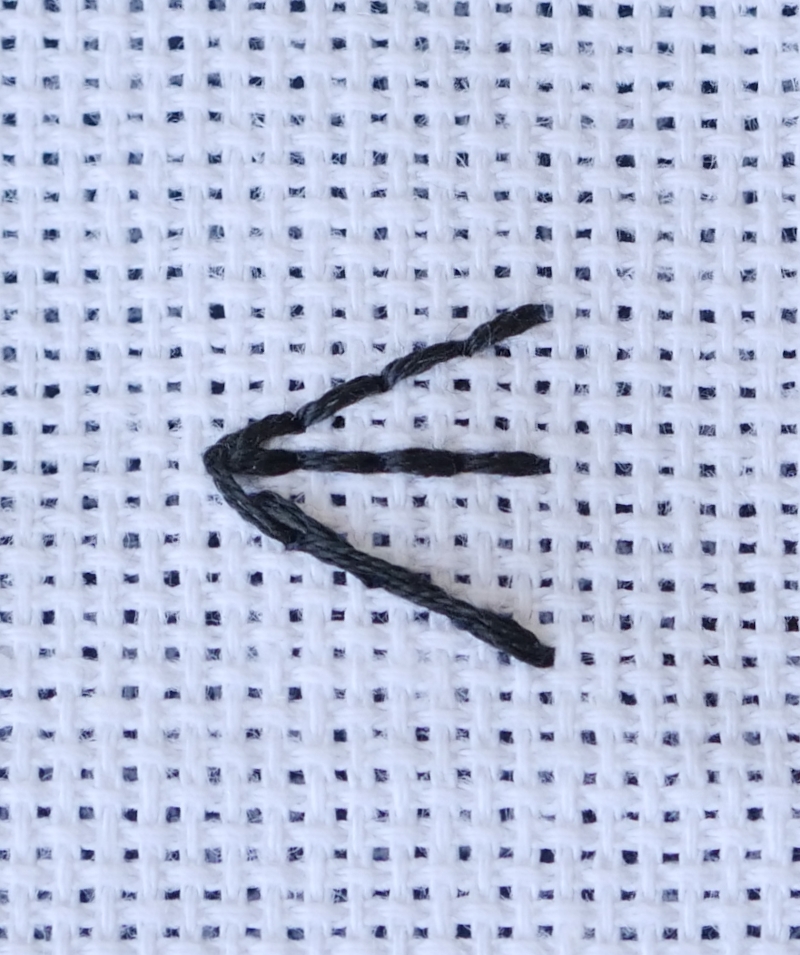
Backstitch
In cases when you are stitching drawings, for example cartoon characters, to make contours or some details like cat whiskers, you might want to go out of counted cells pattern and draw straight line between some points. For both cases you can use backstitch technique.
There are many more types of cross stitch, and they all share the same basic procedure: crossing one thread on top of the other. If you’re a beginner we suggest you practice the simple cross-stitches until you’re ready to move on to more complex ones and spice up your designs.
Where To Find Quality Patterns & Create Your Own?
Now that you know the different types of cross stitch, fabrics, and techniques, it is time to grab a pattern and start practicing.
We have a wide catalog of already-made patterns you can browse here and select the one you feel is perfect for you. All patterns come with a mini checklist of what you’ll need to have to complete them such as a specific Aida count, floss, which stitches you’ll be required to use, and more.
If you’d like to create a pattern out of a picture you took or drawn, we have a free online pattern generator you can use in simple steps. You can select your canvas type and count, colors you’ll be using, type of floss, and many other settings to fully customize your pattern.
We have an excellent and hard-working support team that is ready to help you anytime you need.
Happy cross-stitching!